No Bake Chocolate Protein Bars
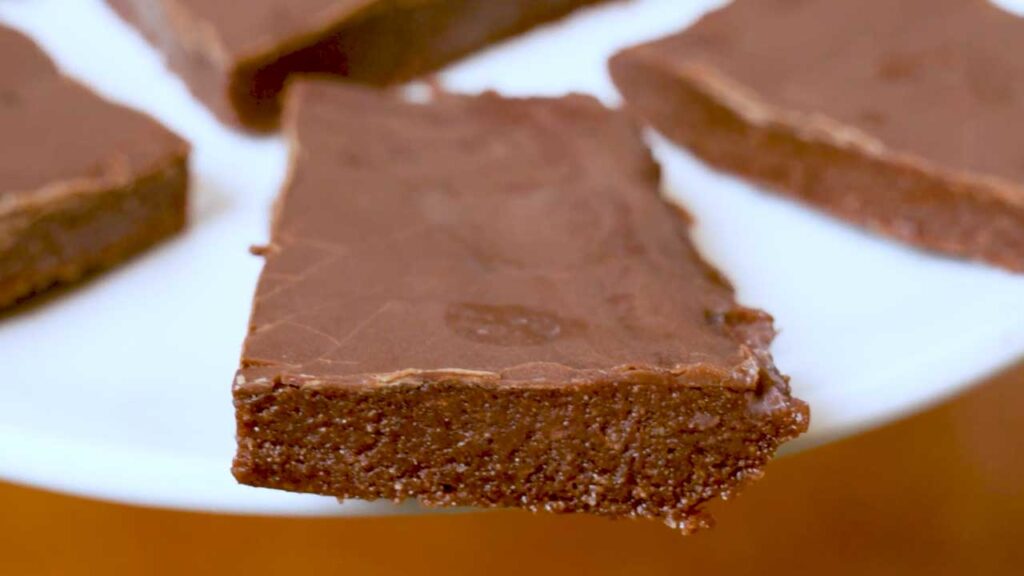
These no bake chocolate protein bars deliver 16 grams of protein with just 2 grams of sugar per bar, making them a solid post-workout snack or afternoon pick-me-up that doesn’t taste like a compromise. You mix everything into a bowl, press it into an 8×8 pan, freeze it for two hours, and you’ve got eight bars ready to grab all week long. There is no oven needed.

What Makes This Actually Good
- The best part about this recipe is not needing the oven (especially during the hot summer months). You mix, press, freeze, and you’re done.
- The combo of whey protein powder and Greek yogurt creates a chewy, bar-like texture that actually holds together without needing a ton of binding agents.
- Each bar packs 16 grams of protein for just 210 calories and 2 grams of sugar. That’s a solid macro split for something that tastes like a candy bar.
- The melted peanut butter ties everything together, adding richness and helping the mixture stick into a firm layer once it hits the freezer.
- The optional chocolate coating is where you can go simple or go all out. Sugar-free chips give you that snap, while unsweetened cocoa with a touch of sweetener lets you customize the intensity.
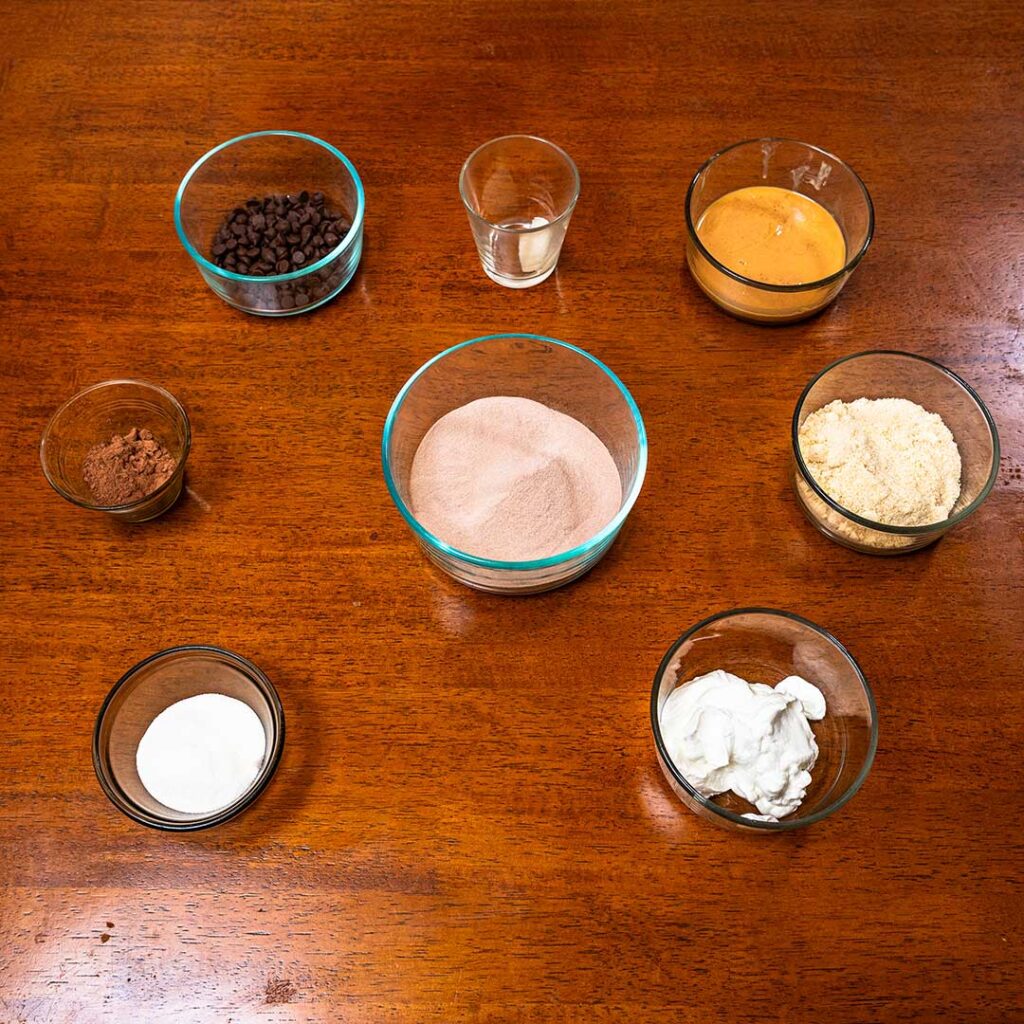
Ingredients
- Chocolate Whey Protein Powder. This is the main protein driver. One scoop gets you close to 25 grams of protein before anything else is added, so the quality of your powder matters more than you’d think.
- Coconut Oil. Adds richness and helps the chocolate coating set smooth in the fridge.
- Sugar-Free Chocolate Chips or Unsweetened Baking Cocoa. This is what makes the coating actually taste like chocolate. The chips give you that clean snap, while the cocoa route lets you dial in sweetness to your taste.
- Natural Sugar-Free Sweetener. Keeps the sugar count at 2 grams per bar without sacrificing the dessert-like flavor.
- Melted Peanut Butter. This is what binds the dry ingredients together and adds a rich flavor that makes the whole thing taste like a snack bar instead of a protein scoop.
- Greek Yogurt. This is what contributes the most creaminess to the base. It also bumps the protein by about 6 grams per half cup. If you like this combo, the Protein Banana Bread uses a very similar base too.
- Unsweetened Cocoa Powder. Deepens the chocolate flavor in the base so it doesn’t rely entirely on the protein powder for taste.
- Almond Flour. Adds a subtle nuttiness and helps absorb moisture so the mixture holds together when you press it into the pan.
Reasons This Will Become a Regular
- 16 grams of protein per bar with only 210 calories makes this one of the most macro-friendly snacks you can throw in a Tupperware.
- Eight ingredients total, most of which you already have in your pantry or fridge. Most of the ingredients are at any regular grocery store.
- Freezer meal prep that actually works. Make a batch on Sunday and grab two bars during the week when the 3 PM craving hits.
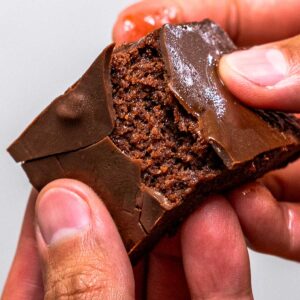
- The texture is spot-on. Chewy base, firm chocolate coating. It doesn’t crumble apart or taste like protein powder disguised as a snack.
- Sugar-free by design. If you’re watching added sugar the way most Flexible Feasts followers are, these fit right into the 80/20 framework without blowing your daily limit.
- You can swap the protein powder flavor to match your mood. Chocolate stays classic, vanilla works with added cocoa, and even strawberry or cookies and cream have their fans.
Pairing Ideas
- Black coffee (cuts through the chocolate and makes it feel more like a dessert pick-me-up)
- Greek yogurt with fresh berries (adds fiber and turns two bars into a proper meal). Swap in Cottage Cheese Overnight Oats for a similar high-protein breakfast combo.
- Green smoothie (balances the sweetness and adds a veggie serving without anyone noticing)
- Handful of almonds (extra crunch and healthy fats to keep you full longer)
How to Switch It Up
- Vanilla protein version. Swap to vanilla whey, add an extra tablespoon of cocoa powder, and skip the coating for a creamy white chocolate bar. The Chocolate Peanut Butter Overnight Oats uses a very similar vanilla + cocoa combo.
- Almond butter or cashew butter instead of peanut butter. Keeps the macros similar and gives you a different flavor profile.
- Add crushed sugar-free peanuts on top before the coating sets. Doubles down on the peanut butter flavor and adds a nice crunch. For another peanut butter bar that hits the same note, check out Protein Peanut Butter Cookie Dough.
- Mini sugar-free chocolate chips mixed into the base before pressing. Extra chocolate pockets without any extra work.
- Make them mini bars. Press the mixture into a lined muffin tin, freeze, and you get 12 snack-sized bars instead of 8 full-size ones.
Things Worth Knowing
-
Storage
Keep these in the freezer for up to 2 weeks or the fridge for about a week. They’ll soften quickly at room temperature, so if you pull one out and leave it on the counter for 20 minutes, eat it right away. -
Protein Powder Choice
The Air Fryer Protein Peanut Butter Cookies has similar moisture-sensitivity tips worth keeping in mind. Different brands absorb moisture differently, so you may need an extra teaspoon of almond flour or yogurt if your dough feels too wet. -
Melted Peanut Butter
Warm it for 15 to 20 seconds in the microwave so it pours easily. Cold peanut butter clumps up and doesn’t mix as evenly into the dry ingredients. -
Parchment Paper
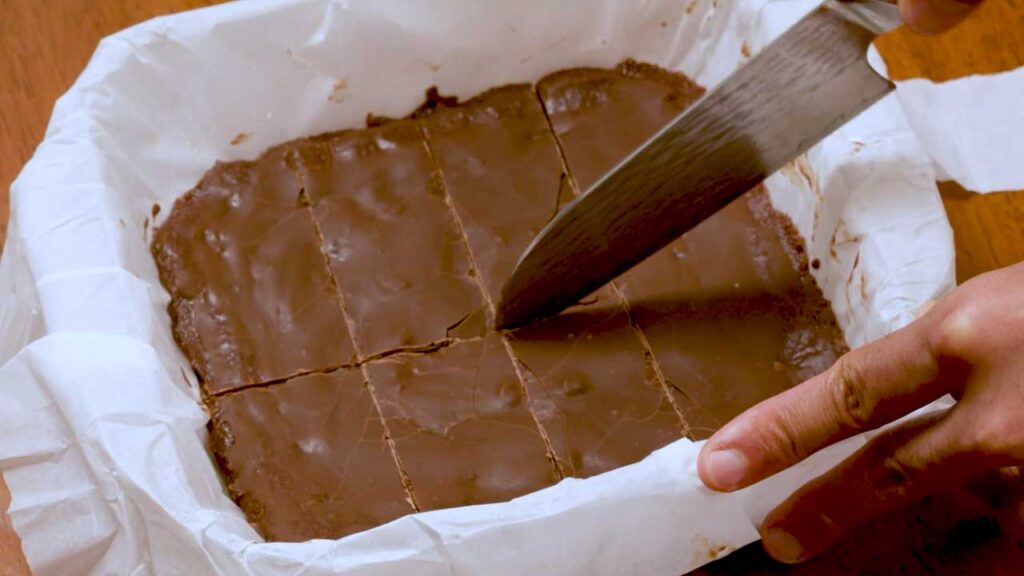
Lining your 8×8 pan is the difference between easy removal and a frustrating scrape. Leave overhang on two sides so you can lift the whole block out before slicing. -
Cutting Clean Slices
Use a sharp knife and wipe it between cuts for clean edges. If the bars are too firm to cut, let them sit at room temperature for 5 minutes first.
FAQs
-
Can I make these without a freezer?
Not really. The freezing step is what firms up the peanut butter and sets the chocolate coating. Without it, you’ll have a soft, scoopable mixture. If you want something similar that bakes instead of freezes, the Cottage Cheese Mini Cheesecakes follow a comparable approach. If you don’t have freezer space, try a baked protein bar recipe instead, but these specific bars need the cold to set properly. -
Will these work with casein protein instead of whey?
You can, but the texture will be denser. Casein absorbs more liquid than whey, so you may need an extra tablespoon of Greek yogurt or a splash of water to get the dough to come together. Start with less and add gradually. -
How do I keep the chocolate coating from cracking when I bite into it?
Let the bars sit out for 2 to 3 minutes after pulling them from the freezer before biting. That small temperature shift prevents the coating from shattering. Thin coatings also crack less than thick ones, so don’t overdo the drizzle. -
Can I prep these for the whole week on Sunday?
Absolutely. That’s how most people eat them. Make the batch, portion them into a container lined with parchment, and grab two bars each weekday as a snack or post-workout fuel. -
Are these safe for people with dairy sensitivities?
Greek yogurt and whey protein are both dairy-based, so these aren’t dairy-free. Swap to a non-dairy protein powder and use coconut yogurt if you need to avoid lactose, though the texture may shift slightly.
Equipment Needed
- OXO Good Grips Freezer-to-Oven Safe 2 Qt Glass Baking Dish
- Reynolds Kitchens Stay Flat Parchment Paper
- Pyrex 7-Cup Glass Mixing Bowl
- Silicone Spatula
Recipe
No Bake Chocolate Protein Bars
These no bake chocolate protein bars pack 16 grams of protein into a single macro friendly bar made with chocolate whey protein, Greek yogurt, and peanut butter. The thick dough comes together in minutes, gets topped with a sugar-free chocolate coating, and sets in the freezer for an easy grab-and-go snack or dessert that actually fits your goals.
Ingredients
Directions
- Take out a large bowl to prepare your dry ingredients.
- Add all of your dry ingredients and mix everything together.
- Set the dry ingredients aside for now.
- Take out another large bowl to prepare your wet ingredients.
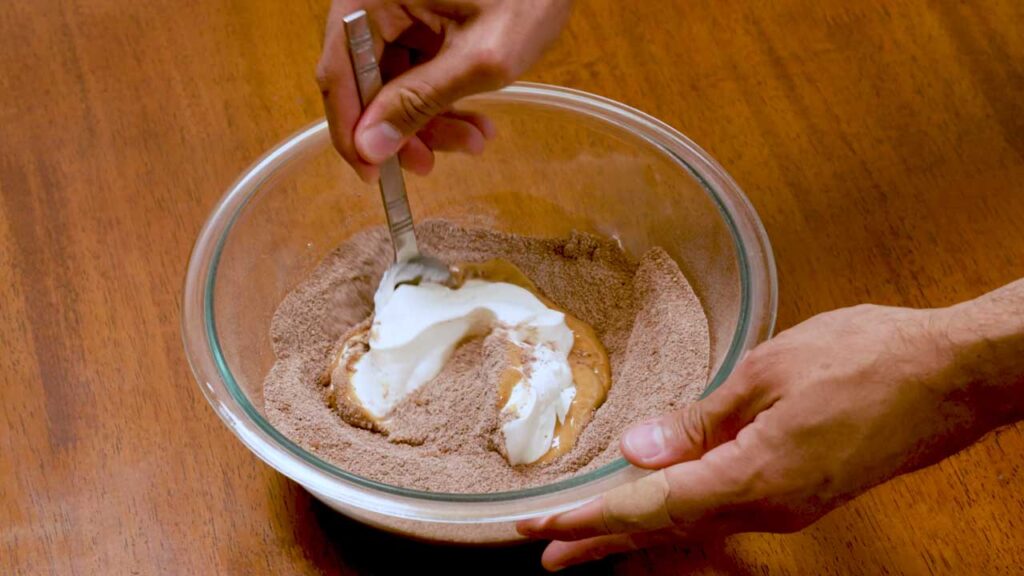
- Add all of your wet ingredients and mix everything together.
- Pour the wet ingredients into the bowl with the dry ingredients and mix everything together until it forms a thick, dough-like consistency.
- Take out an 8×8 inch baking dish and line it with parchment paper or give it a light spray of oil.
- Transfer the mixture into the baking dish and press it down evenly with a spatula or your hands to create a flat, uniform layer.
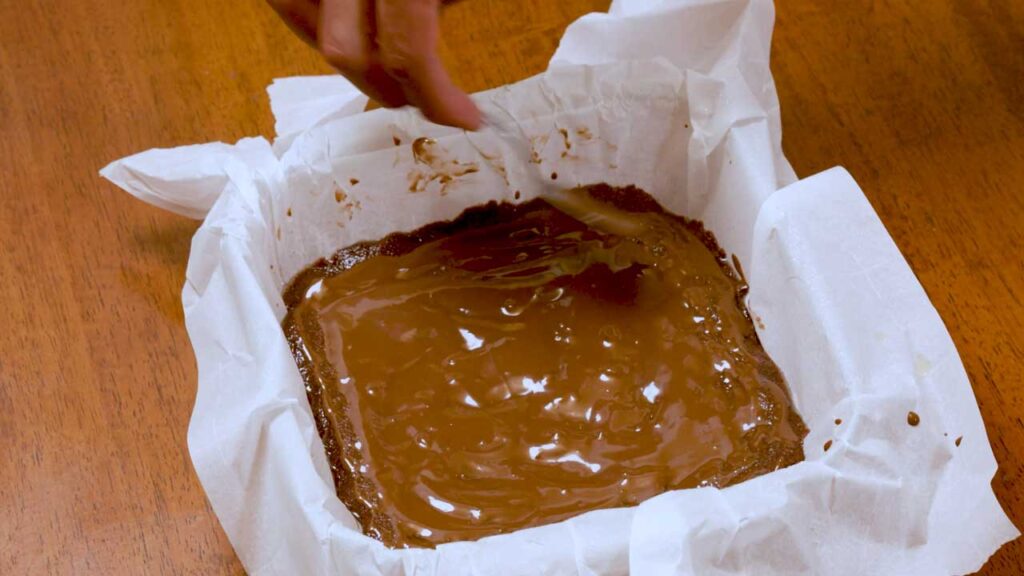
- While it’s still in the baking dish, prepare your chocolate coating. Take out a small microwave-safe bowl and add 1/2 cup of sugar-free chocolate chips or unsweetened baking cocoa.
- Add 1 teaspoon of coconut oil and microwave in 30-second intervals, stirring between each one, until fully melted and smooth. If using unsweetened cocoa, add 1-2 tablespoons of natural sugar-free sweetener to taste.
- Drizzle the chocolate coating over the top of the bars while they’re still in the baking dish.
- Place the baking dish in the freezer for at least 2 hours.
- Once the bars are firm, remove them from the baking dish using the parchment paper as handles.
- Cut into 8 even bars or however many you prefer.
- These are best eaten immediately. Store these in the freezer.
Nutrition Facts
Serving size: 1 bar
Amount of servings per recipe: 8
Calories: 210
Fat: 14 g
Saturated Fat: 3 g
Trans Fat: 0 g
Cholesterol: 1 mg
Sodium: 18 mg
Carbohydrates: 10 g
Fiber: 3 g
Sugars: 2 g
Protein: 16 g
*The numbers above are approximations. Actual calories and macronutrient amounts will vary depending on the ingredients used along with the serving size.