Cottage Cheese Mini Cheesecakes
Each of these cottage cheese mini cheesecakes delivers 14 grams of protein with just 130 calories. The blender method makes them incredibly smooth with no cottage cheese aftertaste, and you only need six simple ingredients to pull them off. Ideal for meal prep, they store well in the fridge all week and taste like a real dessert instead of a compromise. They are right up there with the Cottage Cheese Chocolate Mousse as go-to high protein desserts that actually taste good.

What Makes This Actually Good
- The blender method creates a smooth texture with no lumps left behind. No one will guess cottage cheese is the main ingredient.
- Each mini cheesecake packs 14 grams of protein from two dairy sources working together. That is serious for a dessert.
- No water bath required. These bake straight on a sheet pan and come out set with just a slight jiggle in the center.
- The whole process takes about 5 minutes of active work before blending. Everything goes in the blender and you walk away.

Ingredients
- Cottage Cheese. The base of these cheesecakes. Four percent milk fat gives the best texture and richness.
- Greek Yogurt. Adds tang and contributes about 10 grams of protein per cup. Non-fat or whole milk both work fine.
- Eggs. Two large eggs bind everything together and help the cheesecakes set properly in the oven.
- Lakanto Monk Fruit Sweetener. I used stevia in the raw for testing, but Lakanto monk fruit sweetener is a great swap if you want zero calories without the stevia aftertaste.
- Vanilla Extract. Ties all the sweet flavors together. Skip the imitation stuff, it changes the whole taste.
- Lemon Juice. Just a teaspoon brightens everything up. Optional but worth the extra ingredient.
- Fresh Strawberries. The classic cheesecake topping. Slice them thin for a nicer presentation.
- Whipped Cream. Extra indulgence on top. Skip it if you want to keep the protein score higher.
Reasons This Will Become a Regular
- High protein dessert that actually tastes like dessert. 14 grams of protein per mini cheesecake is no joke.
- Five minutes of active prep. Toss everything in a blender and divide among ramekins.
- No special equipment beyond a blender and four ramekins. If you have those, you are good to go.
- Meal prep friendly. Make four at once and they last in the fridge for up to five days.
- Flexible sweetener options. Stevia, honey, monk fruit, or your protein powder of choice.
- Individual portions by default. A Cheesecake Protein Yogurt Bowl is another great high protein dessert to rotate into your meal prep if you want variety. No slicing a whole cheesecake or fighting over the last piece.

Pairing Ideas
- Mixed berries with a light drizzle of honey. Adds freshness without weighing anything down. If you want something with more protein on the side, a Mixed Berry Protein Yogurt pairs well here too.
- High protein coffee or a black espresso. Pairs well with the cheesecake flavor and keeps breakfast complete.
- Whole grain toast. Filling enough to turn this into a full weekend breakfast spread.
- Mixed green salad with vinaigrette. Keeps the meal from feeling too heavy if you are eating it for lunch.
Swaps and Substitutions
- Dairy free version. Swap cottage cheese and Greek yogurt for dairy-free alternatives made with cashews or coconut. Texture will be slightly different but still tasty.
- Protein powder boost. Add one scoop of vanilla whey or casein protein to the blender for an extra 20 grams. Thin with a splash of milk if the batter gets too thick.
- No-bake option. Skip the oven entirely and use a no-bake cheesecake crust made from crushed graham crackers and melted butter. Chill for four hours instead of baking.
- Different fruit toppings. Blueberries, sliced peaches, or mixed berries all work great. Frozen fruit thawed and drained works in a pinch. A Cottage Cheese Banana Pudding is another solid option if you want to switch up the fruit profile entirely.
- Honey instead of stevia. Use 2 tablespoons of honey for a more natural sweetener. Expect about 4 extra grams of sugar per cheesecake.

What I Wish I’d Known Before Making These
-
Blend Until Smooth
Don’t skip scraping down the sides of your blender. You want a completely smooth batter with zero cottage cheese curds visible. This is the difference between good and great. -
Cool Gradually
Let the ramekins sit on a wire rack for 30 to 45 minutes before refrigerating. Going straight from hot oven to cold fridge can cause cracking. -
Overnight Is Best
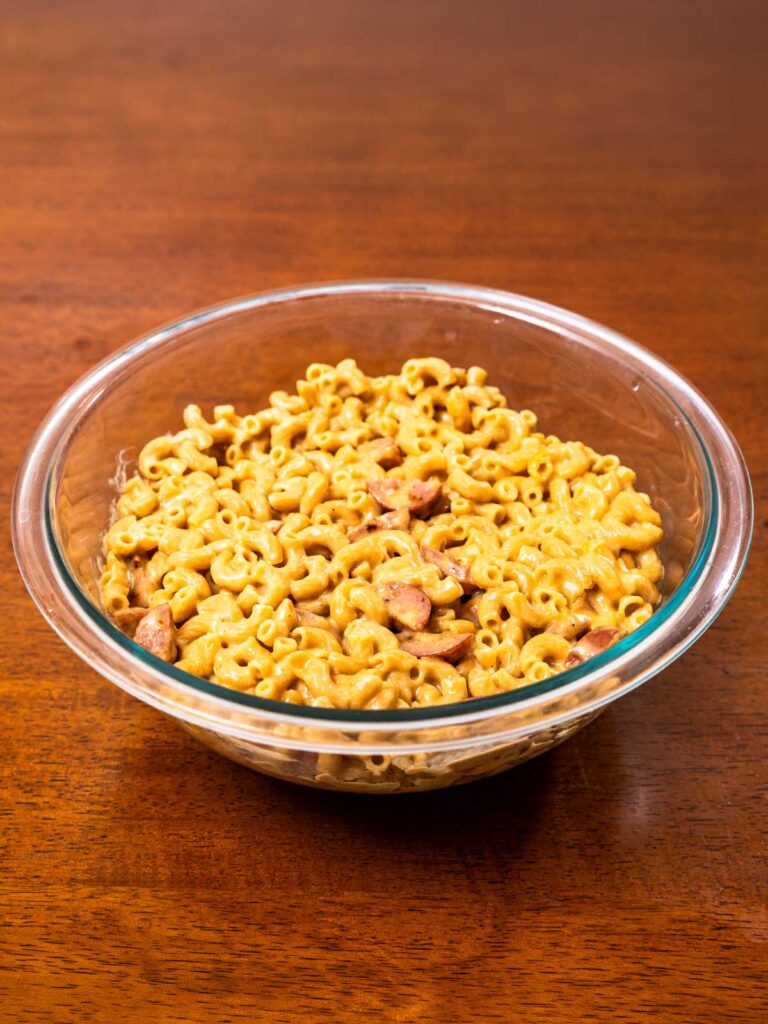
These cheesecakes taste noticeably better after sitting in the fridge overnight. The texture firms up and the flavors meld together more. Cottage cheese is surprisingly versatile in recipes beyond savory dishes, whether you are making cheesecakes, mac and cheese, or even a Cottage Cheese Mac and Cheese for lunch. -
Storage Life
Covered ramekins will last in the fridge for up to five days. They do not freeze well since the cottage cheese texture changes after thawing.
FAQs
-
Can I make these without ramekins?
You can use a standard muffin tin lined with paper cups, but the baking time will be shorter. Check them at 15 minutes instead of 20 since the smaller volume cooks faster. -
Will the cottage cheese taste weird?
You won’t taste it at all. Blending it with Greek yogurt, vanilla, and lemon juice completely masks the tang. You’d be surprised how neutral the flavor ends up being once everything blends together. -
Can I use a food processor instead of a blender?
Yes, a food processor works just fine. The key is blending on high until completely smooth, which takes about 60 seconds either way. -
How do I know when they are done baking?
The edges should be set and firm to the touch. The centers will still have a slight jiggle when you shake the pan. They firm up as they cool, so don’t wait for them to be completely solid in the oven. -
Can I reduce the sugar further?
The recipe already uses stevia or honey as a lower-sugar alternative. If you want zero sugar, try Lakanto monk fruit sweetener or add a scoop of unflavored protein powder for extra macros without any sweetness.

Equipment Needed

Recipe
Cottage Cheese Mini Cheesecakes
These creamy Cottage Cheese Mini Cheesecakes blend smooth cottage cheese and Greek yogurt into a high-protein dessert that tastes pure indulgence at just 130 calories and 14 grams of protein per serving.
Ingredients
Directions
- Preheat oven to 350°F (175°C).
- Place 4 oven-safe ramekins on a baking sheet and lightly grease or spray them.
- Add cottage cheese, Greek yogurt, eggs, stevia or honey, vanilla, and lemon juice (if using) to a blender or food processor.
- Blend on high until the mixture is completely smooth and creamy, scraping down the sides as needed.
- Take out 4 ramekins and spray them with oil.
- Divide the batter evenly among the 4 ramekins, filling them almost to the top.
- Gently tap each ramekin on the counter to release any large air bubbles.
- Transfer the baking sheet with ramekins to the center rack of the oven.
- Bake for 20–25 minutes, until the edges are set and the centers still have a slight jiggle when you gently shake the pan.
- Remove from the oven and let the ramekins cool to room temperature on a wire rack for 30–45 minutes.
- Once cooled, cover each ramekin and refrigerate for at least 2 hours, or until fully chilled and set (overnight gives the best texture).
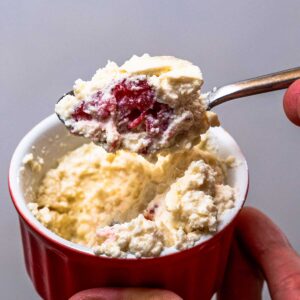
- Just before serving, top each cheesecake cup with fresh strawberries and a dollop of whipped cream.
Video
Notes
Store covered in the refrigerator for up to 4 days. These taste even better the next day as the flavors continue to meld while setting.
Nutrition Facts
Serving size: 1 mini cheesecake (about 5-6 oz)
Amount of servings per recipe: 4
Calories: 130
Fat: 4 g
Saturated Fat: 1 g
Trans Fat: 0 g
Cholesterol: 90 mg
Sodium: 160 mg
Carbohydrates: 7 g
Fiber: 0 g
Sugars: 5 g
Protein: 14 g
*The numbers above are approximations. Actual calories and macronutrient amounts will vary depending on the ingredients used along with the serving size.